Air quality monitor
Air quality monitor
A couple years ago I got curious what the air-quality was like in the apartment I lived in while studying. I decided I wanted to monitor the CO2 and particulate in the air
Sensors
CO2
From previous experiments with some TVOC sensors and their estimated CO2 levels I was interested in getting a proper CO2 sensor that actually measures CO2. A good and affordable kind of CO2 sensor is a so-called NDIR sensor.
A NonDispersive Infrared Sensor is a simple spectroscopic sensor. It works by shining a light through a cavity
that has the gas you want to measure.
Because gasses absorb light of different wavelengths you can then, with a sensor at the
other end of the cavity, calculate how much light of a particular wavelength was absorbed and correlate that with the
concentration of the gas of interest.
Daniel Popa and Florin Udrea, CC BY 4.0 https://creativecommons.org/licenses/by/4.0, via Wikimedia Commons
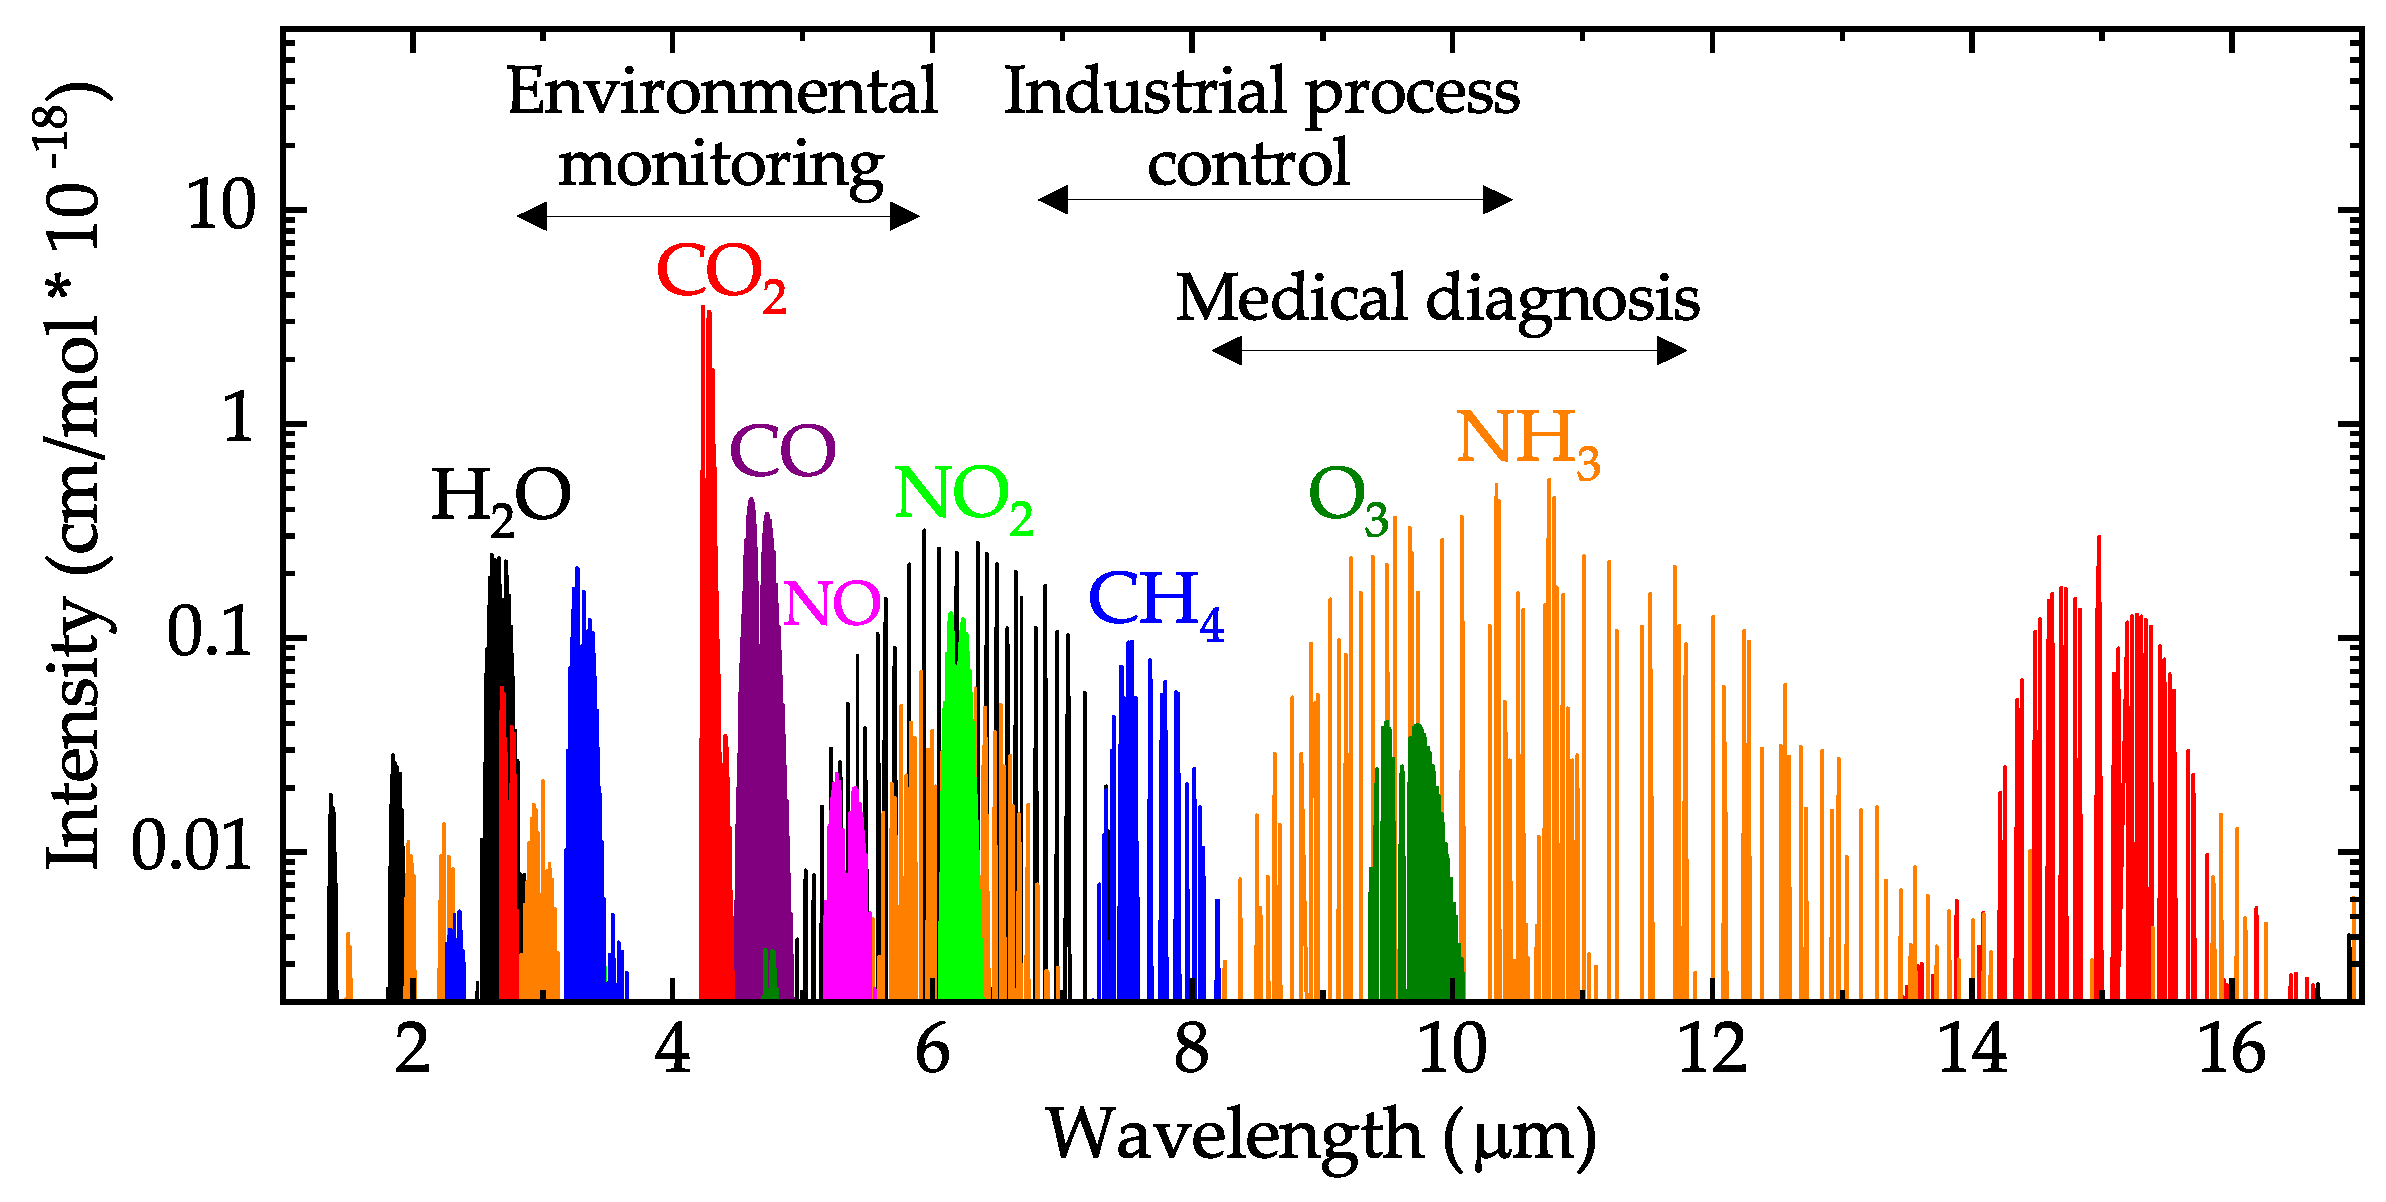
However as you can see on the image of absorption by different gasses, if you want a useable CO2 measurement, you have to make
sure you’re only looking at light of a wavelength that it absorbs.
This can be achieved in a few different ways, like an super monochrome light-source, but more commonly (and cheaply) is done
by using an incandescent lamp.
This is because incandescent lamps are really good black-body radiators,
producing a nice wide-band light source.
This wide band light is then filtered to only have the wave-length light that CO2 absorbs, and the intensity of this light
through the cavity is then measured at the other end.
While this can be done with a single sensor at the end of the cavity, this would be susceptible to drift over time. Instead, higher end sensors use two sensors, one with a pocket of reference gas in front of it, allowing the sensor to always compare the reading from the bare sensor to a known value.

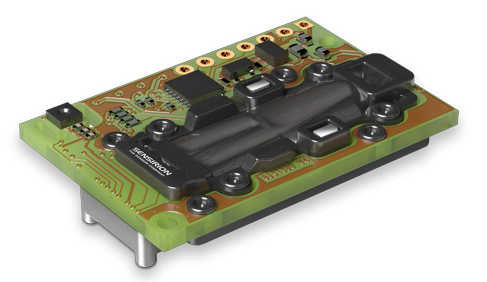
The sensor I ended up using in my boxes is the Senseair S8

This sadly is not a dual-sensing sensor, and will suffer from aging effects more than a dual-sensing device.
It attempts to compensate for this by making some assumptions and run an “auto-calibration” internally, but this can give some
weird results now and then.
A better sensor to use now, is the SCD30 from sensirion
This sensor uses a dual-sensing approach as shown in the image above, and in testing does seem to behave much nicer. The SCD30 also includes a very nice temperature and humidity sensor from Sensirion, so that’s a nice bonus :)
Both sensors can be found on Aliexpress for between 30-40 eur shipped.

2 hour graph of two S8 sensors and one SCD30
Particulates
When it came to sensing particulates, I spent a lot less time researching the different options. This is because I found a great talk by Joost Wessling from the Dutch National Institute for Public health and the Environment. In this talk, he details a large scale experiment where the institute wanted individual people to build measurement stations, and the SDS011 was shown to be a capable sensor.
Since then Sensirion has also introduced a sensor for this market, the SPS030, and it might be a better candidate for the future
This is discussed in this presentation by Joost Wesseling https://youtu.be/WhLhjikozDU?t=455
Temperature, relative humidity, air pressure and TVOC
A last minute addition to the box was a BOSCH BME680 This was picked to get some TVOC data. No huge considerations were made in picking this sensor, other than it’s a well respected sensor.
First box
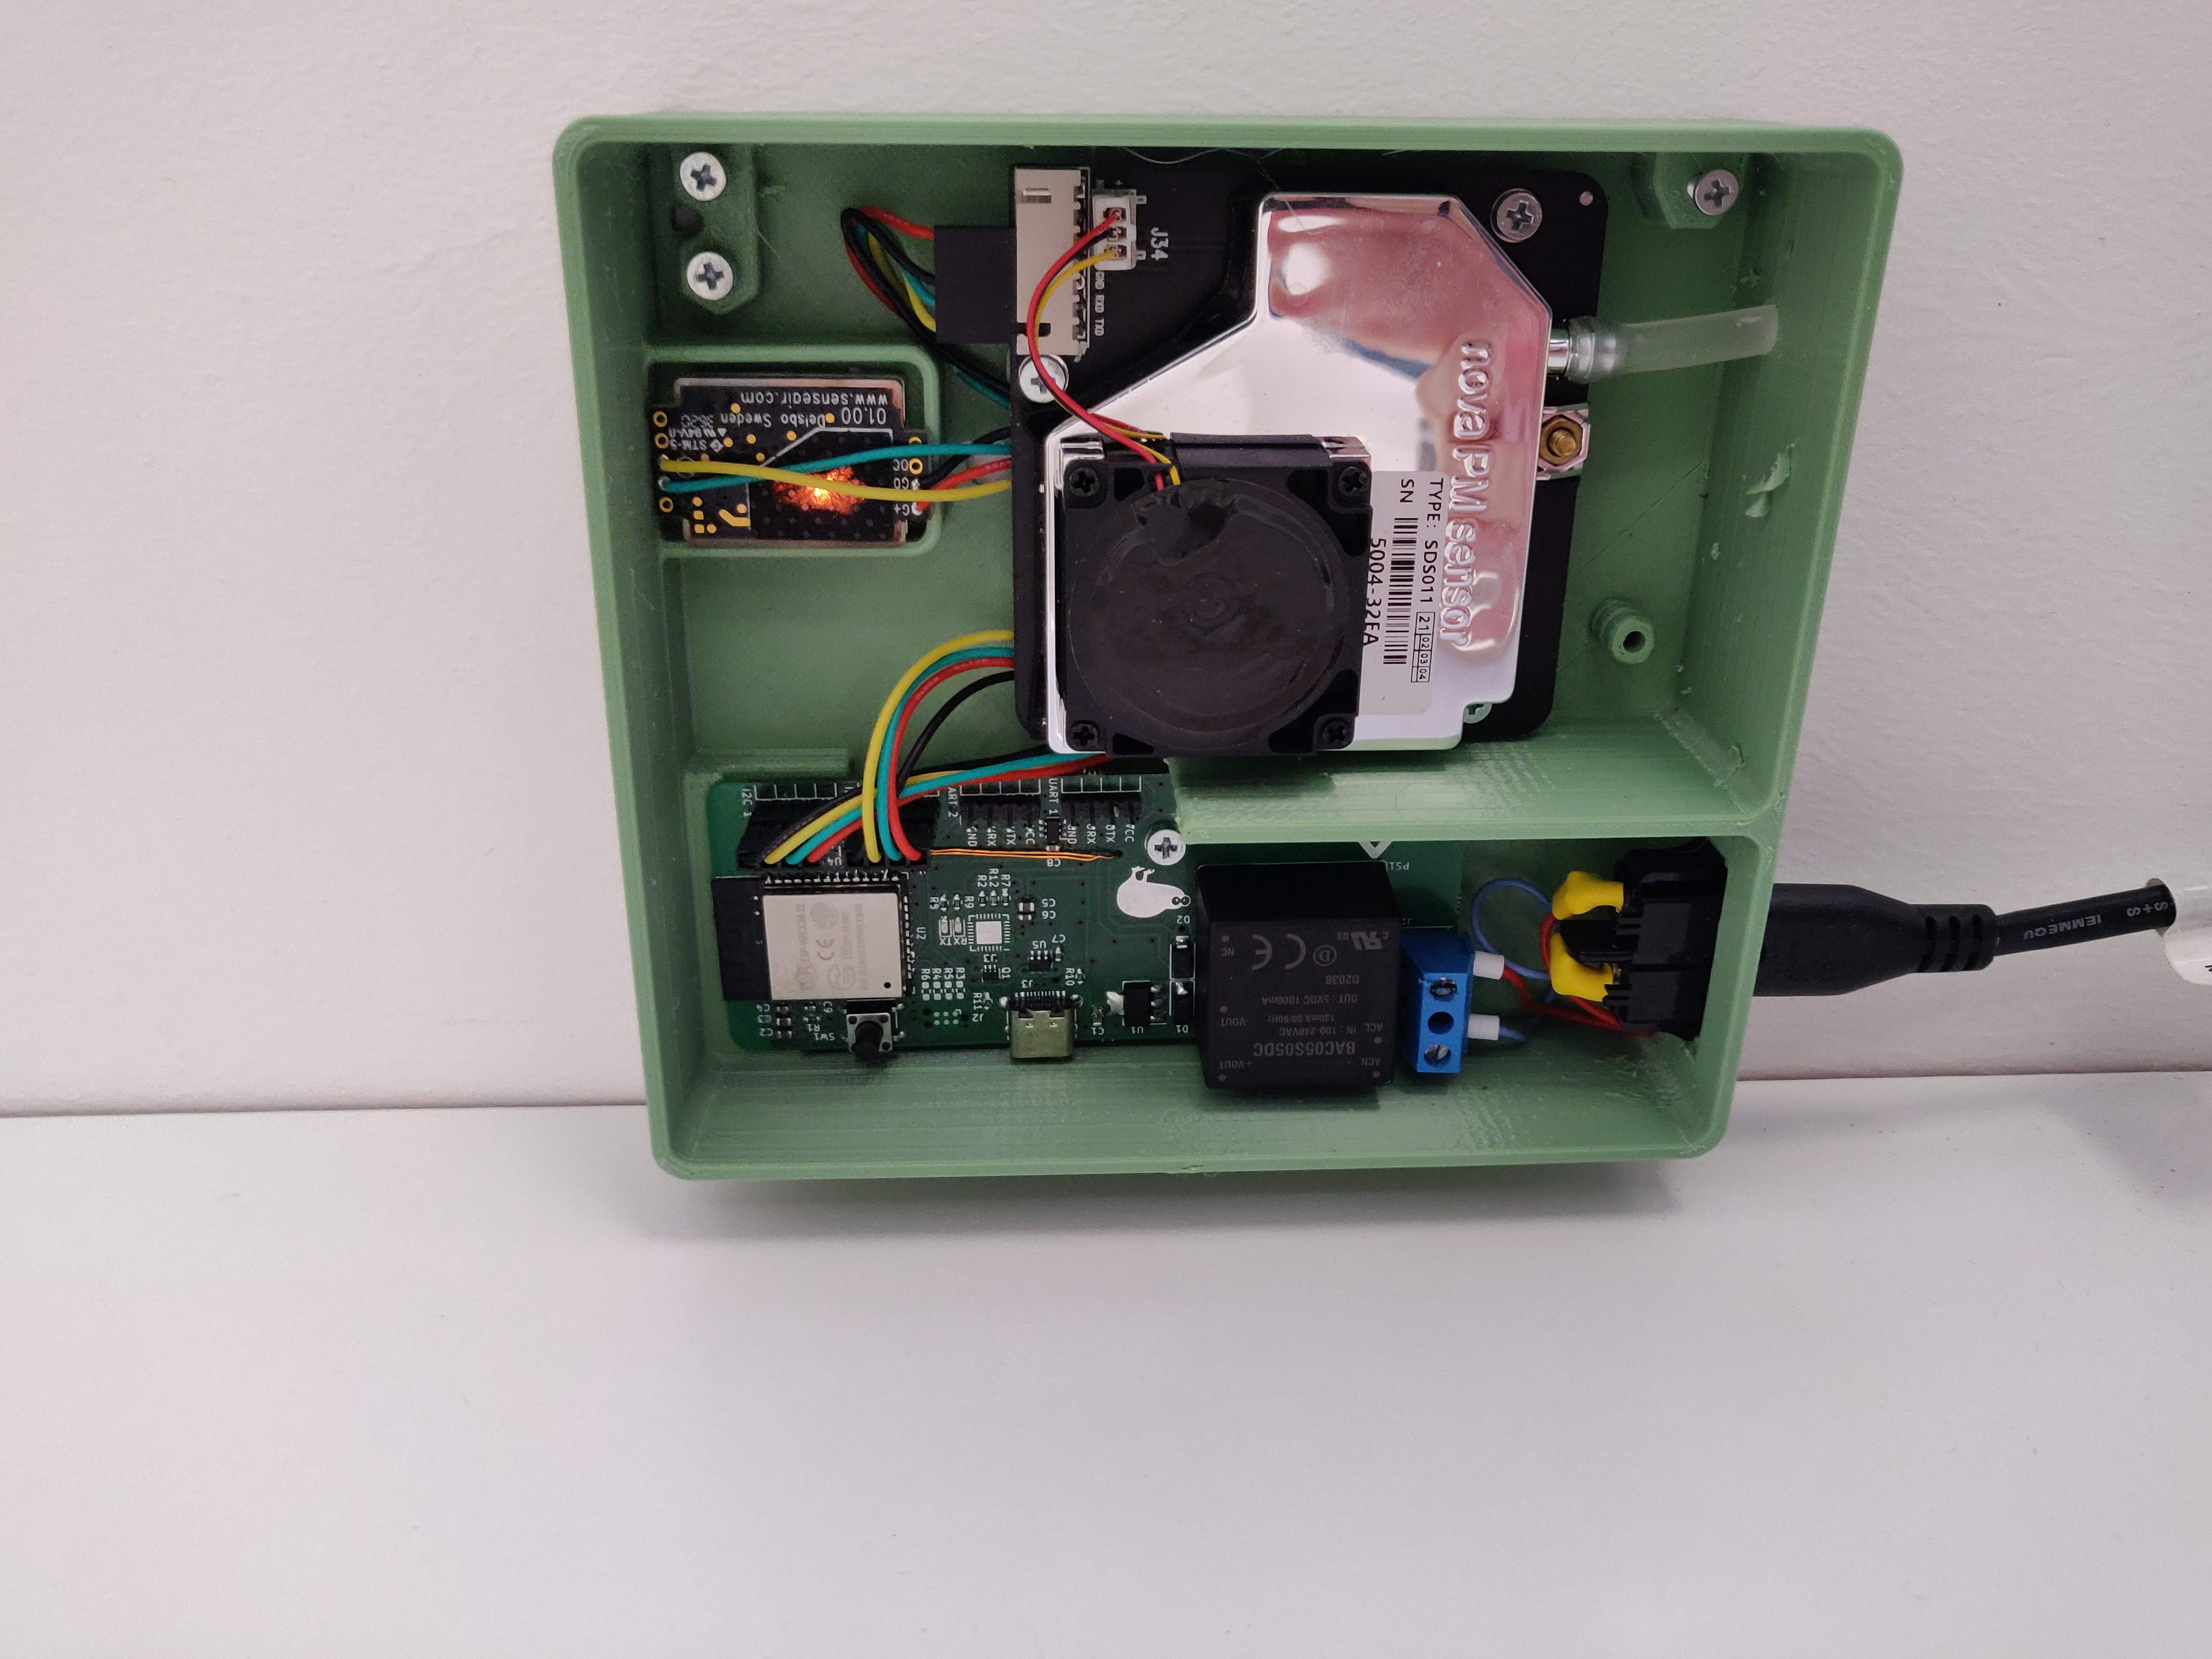
For the first box I designed a circuitboard that has an ESP32 module, USB->serial adapter and a 230V->5V PSU on board.
This meant the box could just be plugged in to the wall, and it’d report values to homeassistant.
Second box
Bacon particulates in the air😋
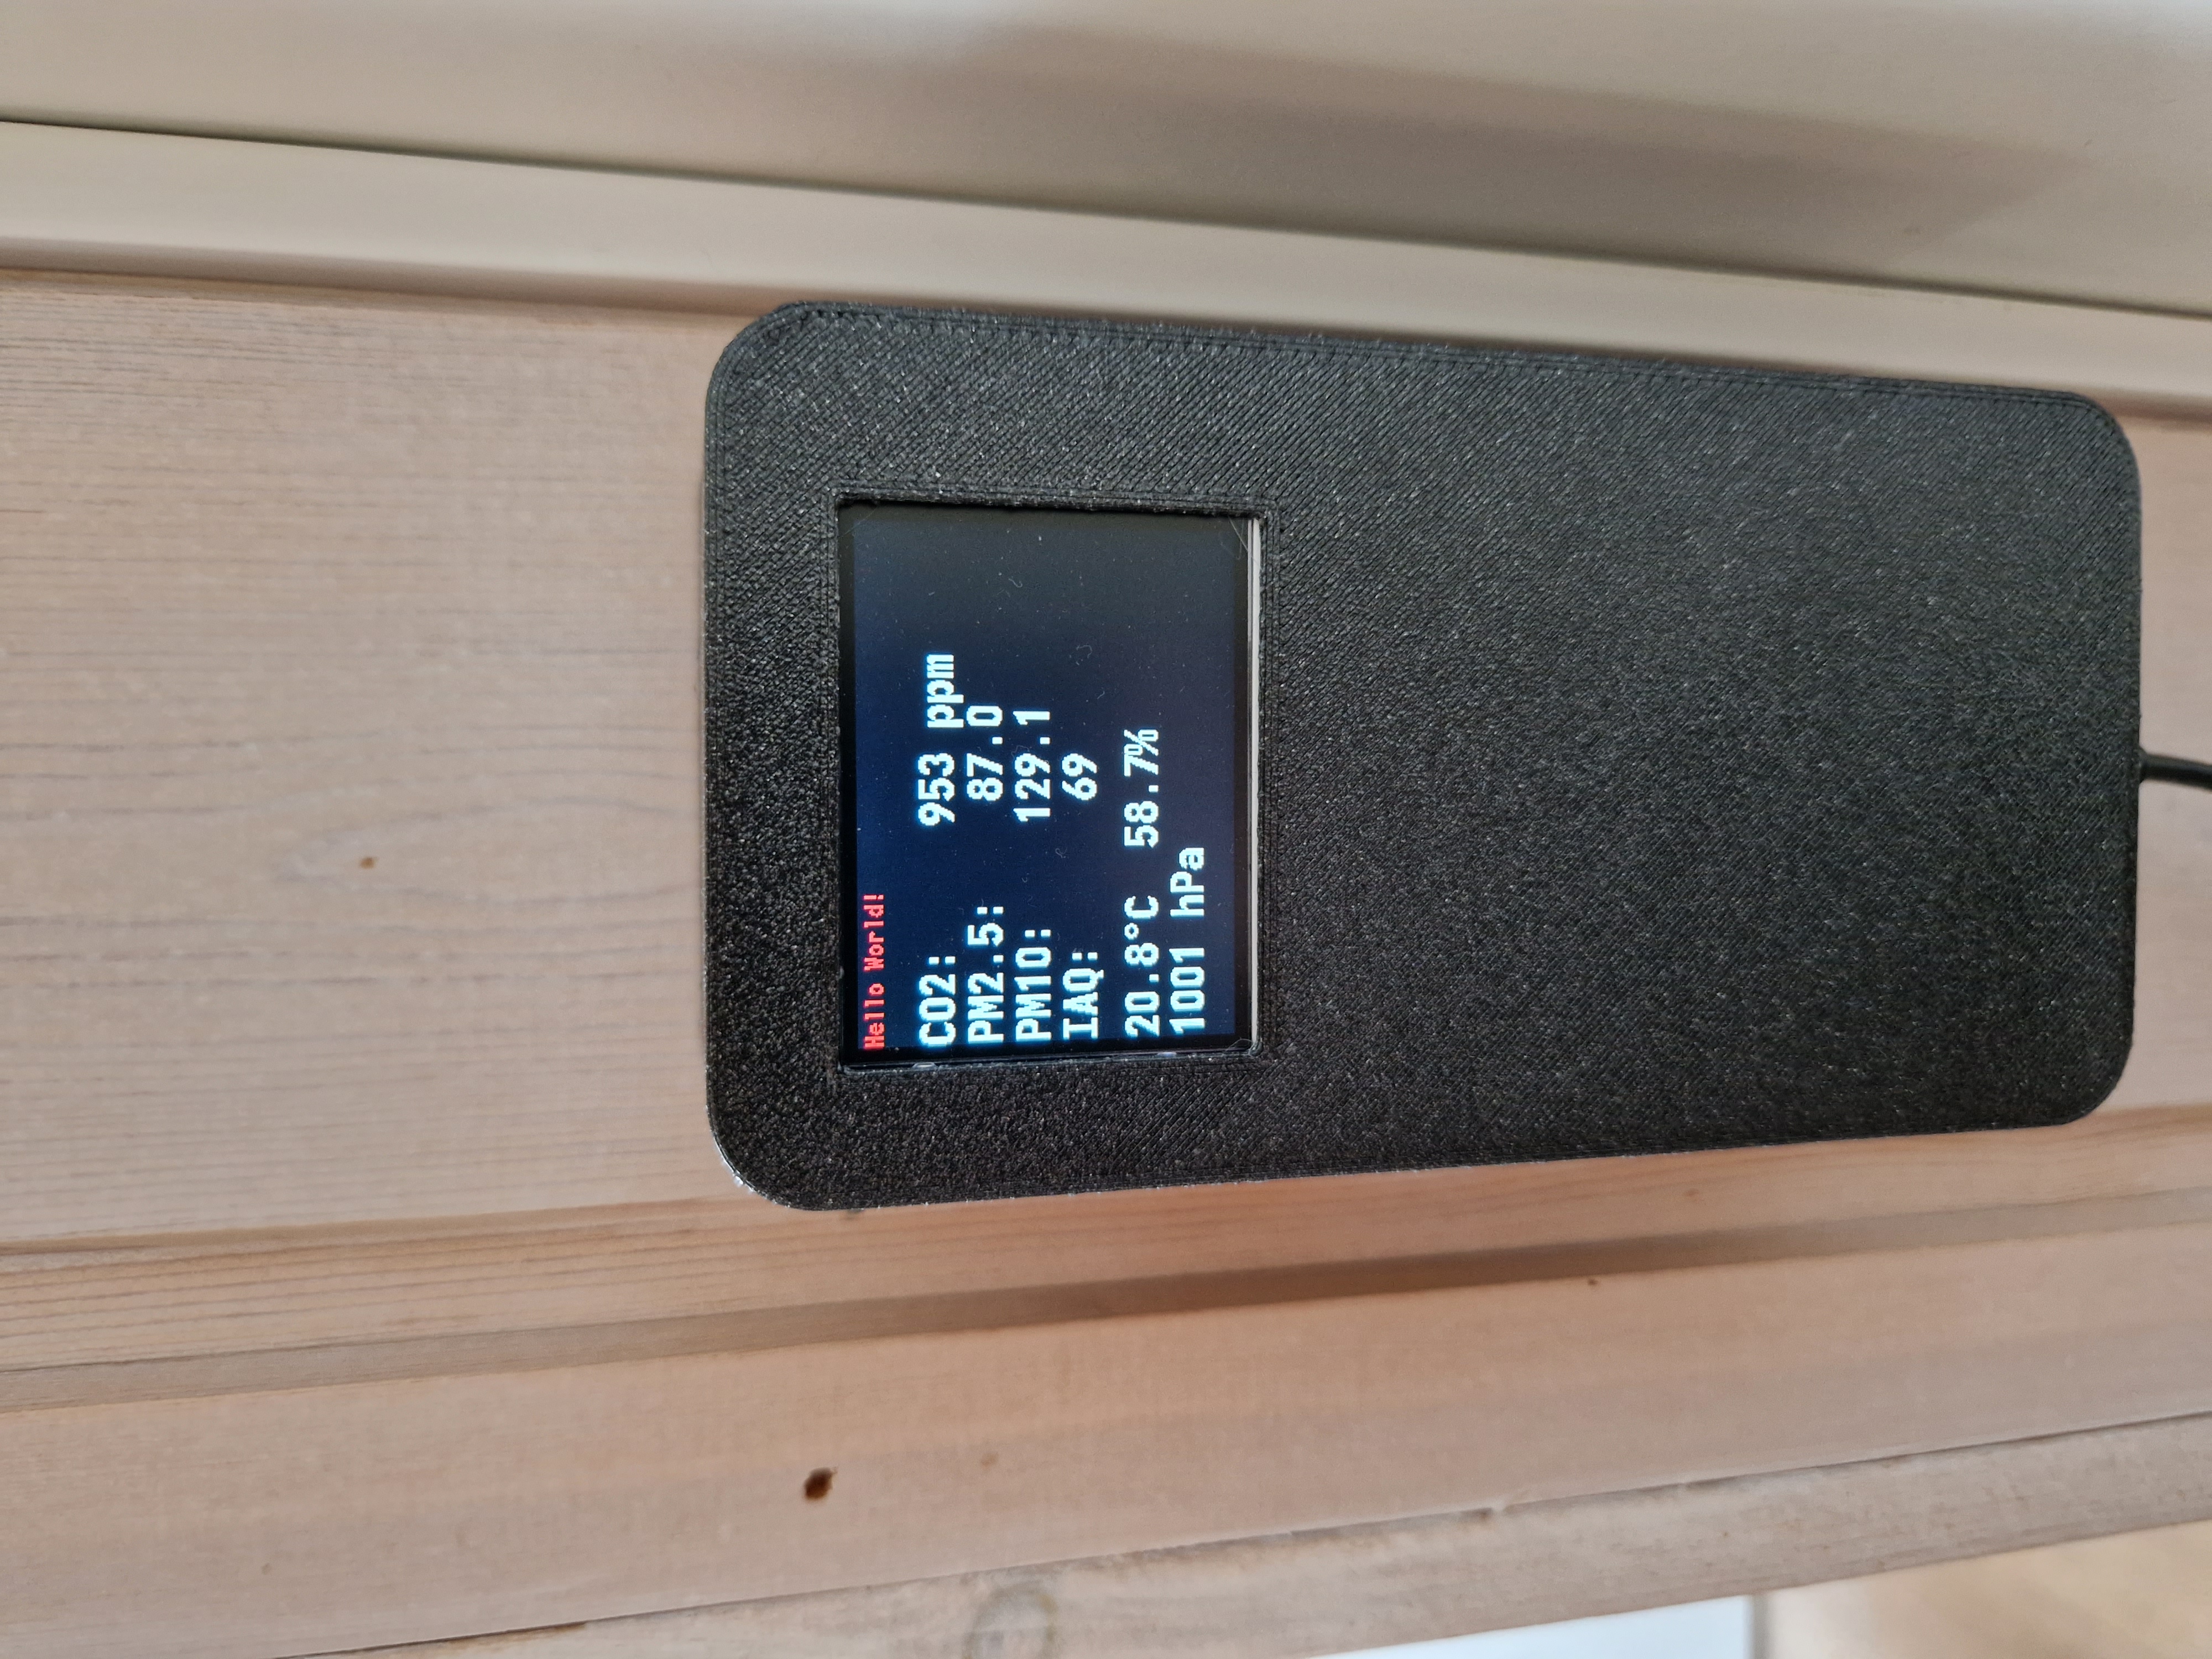
The second box came about as I my parents were interested in getting a box of their own. Since they don’t have a nice homeassistant setup running, it needed a display, and I settled on the ili9341 2.2” TFT as I had some laying around
This new box also discards the built in power supply, in favor of a simple USB-C plug in the bottom. This means the box doesn’t have any dangerous voltages in it, making the box design much easier.
The box mounts on the wall through a dove-tail back-plate. This plate can be screwed on first, with the box then slid over top

Project files
In case you want to partially or entirely replicate this project, here are the files :)
Case files
Mesh files
ESPHome config
KiCAD files
I originally designed the breakout board for a WEMOS S2 mini, however later found out support for this chip is still limited in esphome.
Because of that I made a breakout for the ESP32 module that will work for this project. A redesign of the motherboard would probably not be a bad idea in the future